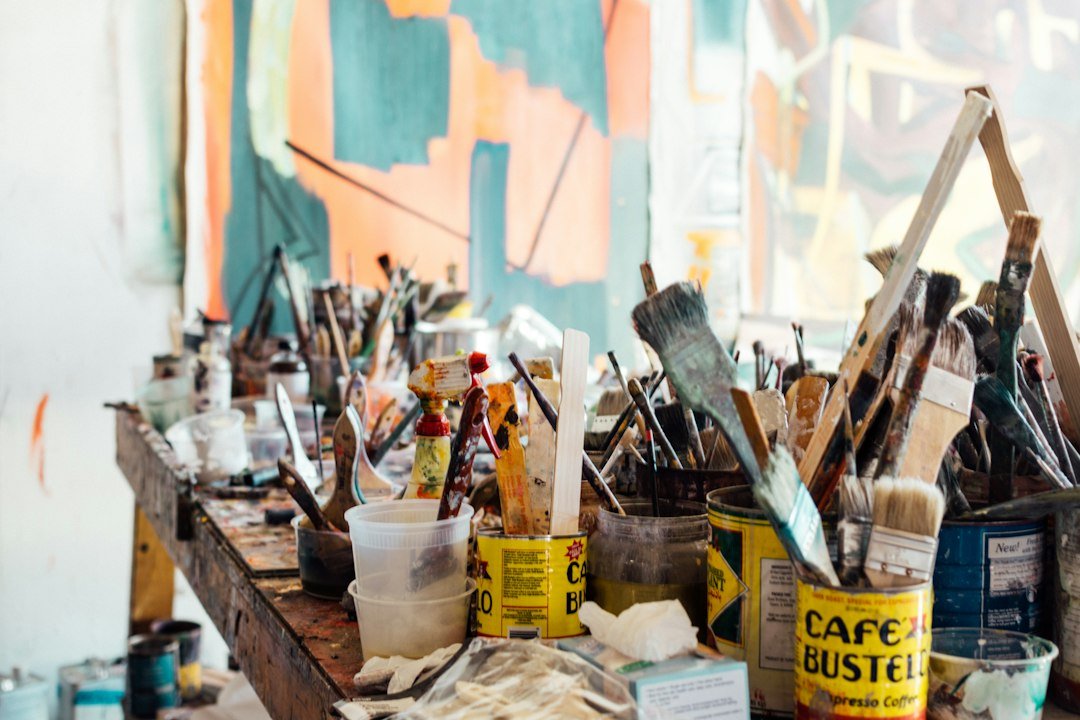
Are you ready to dive into the magical world of resin art? Whether your little one is a budding artist or just loves getting their hands dirty, resin art is the perfect creative outlet for kids of all ages. With its vibrant colors, glossy finish, and endless possibilities, resin art allows children to express their imagination and create stunning masterpieces. In this step-by-step guide, we'll walk you through the exciting process of creating resin art with your kids. Get ready to unleash your inner Picasso!
Step 1: Gather Your Materials
Before you embark on your resin art adventure, make sure you have all the necessary materials. Here's what you'll need:
- Resin and hardener: Choose a non-toxic resin specifically designed for kids.
- Pigments and dyes: Opt for vibrant colors that will bring your artwork to life.
- Mixing cups and stir sticks: These are essential for blending the resin and pigments.
- Canvas or wooden panel: Select a surface to create your masterpiece.
- Protective gloves and apron: Resin can get messy, so it's important to protect your clothes and skin.
- Drop cloth or newspaper: Lay down a protective barrier to catch any spills or drips.
- Blowtorch or heat gun: These tools help remove air bubbles from the resin.
- Paintbrushes and palette knife: Use brushes to apply resin and a palette knife for mixing colors.
Step 2: Prepare Your Work Area
Resin art can get a little messy, so it's essential to set up a dedicated work area. Cover your table with a drop cloth or newspaper to protect the surface from any potential spills or drips. It's also a good idea to have a well-ventilated space or use a fan to help air out any fumes from the resin.
Step 3: Mix the Resin
Now it's time to mix the resin and hardener. Follow the instructions on the packaging to ensure the right ratio of resin to hardener. Typically, it's a 1:1 ratio, but it's always best to double-check. Pour the resin and hardener into separate mixing cups, then combine them into a single cup. Use a stir stick to blend the two components together thoroughly.
Step 4: Add Colors
Resin art is all about color! Get creative and add your favorite pigments and dyes to the resin. Mix different colors to create unique shades and hues. Remember, a little goes a long way, so start with small amounts and gradually add more if needed. Use a stir stick or palette knife to blend the colors into the resin until you achieve your desired shades.
Step 5: Apply the Resin
Now comes the fun part! Carefully pour the colored resin onto your canvas or wooden panel. You can experiment with different pouring techniques like puddle pouring or dirty pouring to create various effects. Use a paintbrush or palette knife to spread the resin evenly on the surface. Encourage your kids to swirl the colors, blending them together to create mesmerizing patterns.
Step 6: Pop Those Bubbles
As the resin settles on your artwork, you may notice some pesky air bubbles forming. Don't worry; it's a common occurrence. Use a blowtorch or heat gun to gently pass over the surface of the resin. The heat will help the bubbles rise to the surface and disappear. Be cautious not to hold the heat source too close, as it may cause the resin to bubble up excessively.
Step 7: Let It Cure
Patience is key in resin art. Allow your masterpiece to cure in a dust-free area for the recommended time mentioned on the resin packaging. Typically, it takes around 24 to 48 hours for resin to fully cure. During this time, keep it away from direct sunlight or extreme temperatures to ensure a smooth and flawless finish.
Step 8: Admire Your Creation
Voila! Your resin art creation is complete. Take a moment to marvel at the vibrant colors and glossy finish of your artwork. Display it proudly on your wall or gift it to a loved one. Resin art is a fantastic way to unleash your creativity and create stunning pieces that will be cherished for years to come.
Get Ready to Dive into a World of Color and Creativity!
Resin art is an incredibly versatile and exciting medium for kids to explore. From abstract designs to nature-inspired creations, the possibilities are endless. So, gather your materials, set up your work area, and let your imagination run wild. With resin art, your little ones can unleash their inner Picasso and create beautiful masterpieces that will leave everyone in awe!
