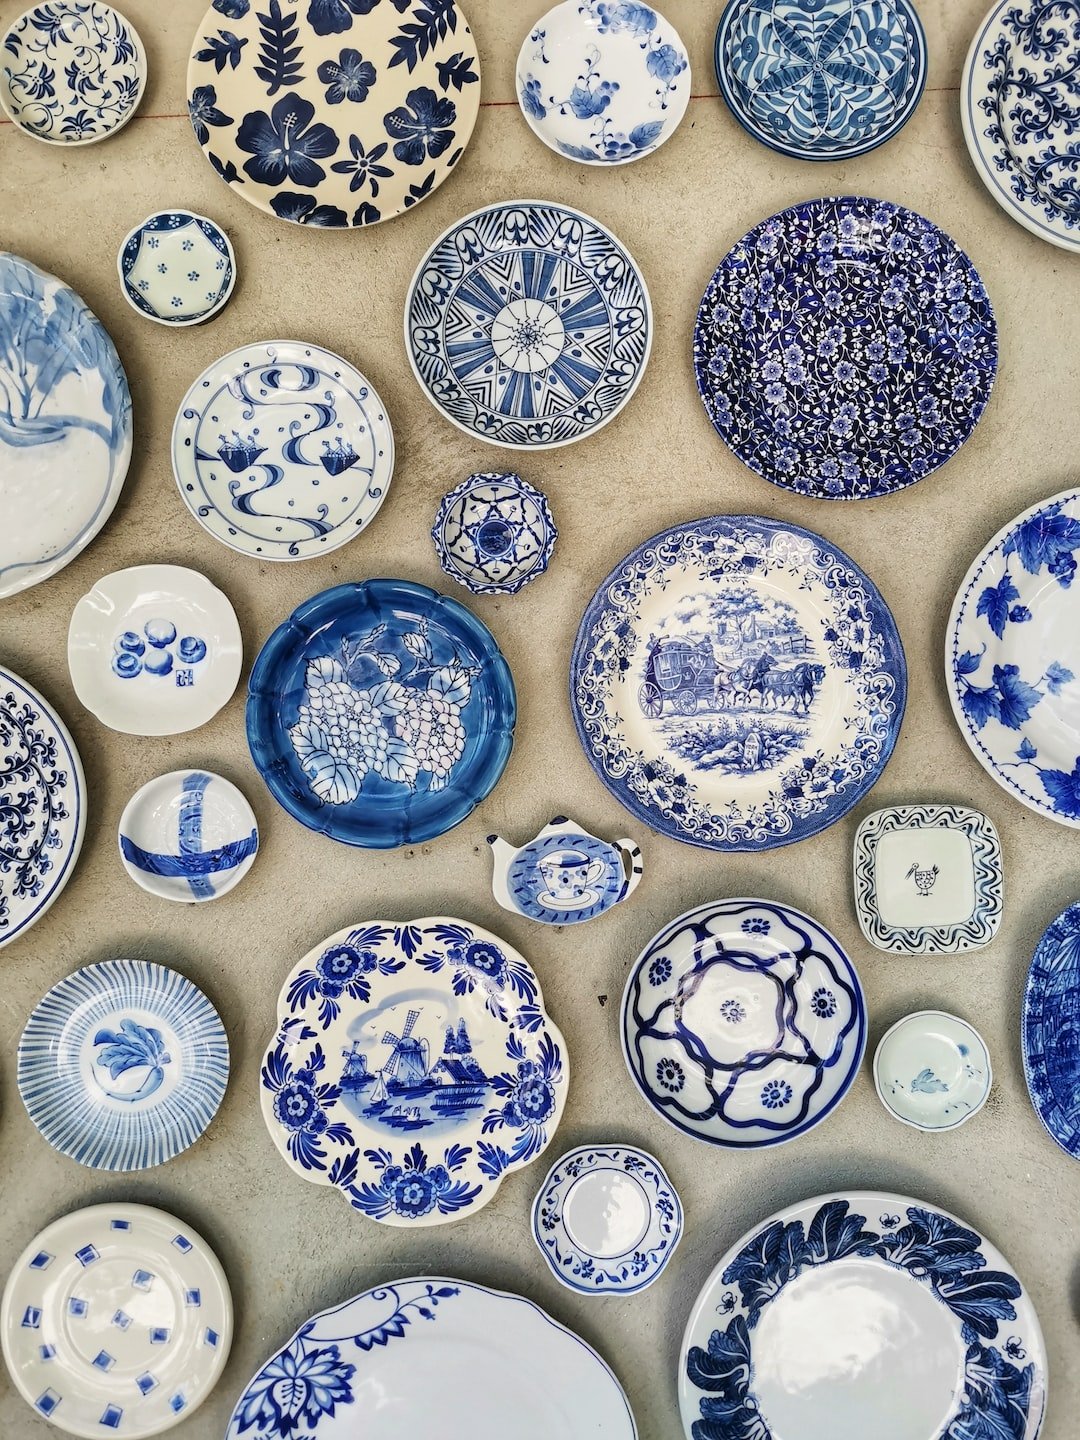
Are you ready to dive into the mesmerizing world of resin art? Whether you're a seasoned artist or a curious beginner, resin art offers a whole new realm of possibilities to explore. With its glossy finish, vibrant colors, and intriguing textures, resin art has become a popular choice for artists looking to create unique and eye-catching pieces. In this beginner's guide, we'll walk you through the basics of resin art, so you can unleash your inner artist and create stunning masterpieces.
What is Resin Art?
Resin art involves using epoxy resin, a two-part liquid material, to create beautiful and durable artwork. When the two components of resin, the resin itself and the hardener, are mixed together, a chemical reaction occurs, resulting in a hard and glossy finish. This versatile medium allows artists to experiment with different techniques, colors, and textures, making each piece truly one-of-a-kind.
Getting Started with Resin Art: Materials and Tools
Before you embark on your resin art journey, it's important to gather the essential materials and tools you'll need. Here's a list to get you started:
1. Resin and Hardener:
Choose a high-quality epoxy resin and its corresponding hardener. The ratio of resin to hardener may vary depending on the brand, so always follow the manufacturer's instructions.
2. Mixing Cups and Stir Sticks:
Use disposable plastic cups and stir sticks to mix the resin and hardener. It's important to use separate cups for each color to avoid cross-contamination.
3. Pigments and Dyes:
Add a pop of color to your resin art by using pigments or dyes. Experiment with different shades and combinations to create your desired effect.
4. Silicone Molds or Canvas:
Choose your canvas wisely! Silicone molds are perfect for creating intricate and detailed resin pieces, while a traditional canvas allows you to explore abstract designs.
5. Torch or Heat Gun:
A torch or heat gun will help remove any air bubbles that may form during the mixing process. This step is crucial to achieving a smooth and flawless finish.
6. Protective Gear:
Safety first! Wear gloves, goggles, and a respirator to protect yourself from any potential hazards. Proper ventilation is also important when working with resin.
Creating Your Resin Masterpiece: Step by Step
Now that you have all the necessary materials and tools, it's time to dive into the creative process. Follow these steps to create your very own resin masterpiece:
Step 1: Prepare Your Workspace:
Choose a well-ventilated area with a flat and level surface. Cover the workspace with a plastic drop cloth or wax paper to protect it from any accidental spills or drips.
Step 2: Measure and Mix:
Measure the required amount of resin and hardener according to the manufacturer's instructions. Pour them into separate mixing cups, then combine them into a larger cup. Stir slowly and thoroughly for a few minutes, ensuring the two components are fully blended.
Step 3: Add Pigments or Dyes:
If you want to add color to your resin, now is the time! Add a few drops of your chosen pigment or dye to the mixture. Stir gently until the color is evenly distributed.
Step 4: Remove Air Bubbles:
Using a torch or heat gun, carefully pass the flame over the surface of the resin to remove any air bubbles that may have formed during the mixing process. Be cautious not to overheat the resin or hold the flame too close.
Step 5: Pour and Create:
Now comes the fun part! Pour the resin mixture onto your chosen canvas or into the silicone mold. Use a stir stick or palette knife to spread the resin evenly, creating the desired shapes and patterns. Don't be afraid to experiment and let your creativity flow!
Step 6: Cure and Enjoy:
Allow your artwork to cure in a dust-free environment for the recommended time indicated by the manufacturer. Once fully cured, your resin masterpiece is ready to be admired and displayed for all to see!
Resin Art Tips and Tricks
As you embark on your resin art journey, keep these tips and tricks in mind:
- Start with small projects and gradually work your way up to larger pieces.
- Experiment with different techniques, such as layering, swirling, or using a heat gun to create unique effects.
- Protect your workspace by using a silicone mat or a dedicated resin art surface.
- Don't rush the curing process. Allow your artwork to fully cure before handling or moving it.
- Take breaks and step back to evaluate your artwork from different angles.
- Use a level to ensure your canvas is flat and even before pouring the resin.
- Embrace imperfections. Resin art can be unpredictable, and sometimes the unexpected adds charm and character to your piece.
Unleash Your Inner Resin Artist!
Congratulations, you've made it through the resin art basics! Now it's time to let your creativity soar and create stunning resin masterpieces. Whether you choose to make jewelry, wall art, or decorative items, resin art offers endless possibilities and a chance to express your unique style. So gather your materials, get your hands dirty, and dive into the magical world of resin art. Unleash your inner artist and watch as resin transforms your ideas into captivating works of art!
